Friday, July 30, 2010

Dear Old Grandfather Restored and Color


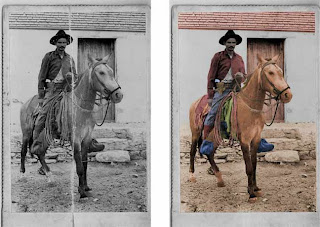
The assignment is called Dear Old Grandfather.The software used was Adobe Photoshop. The purpose was to fix up an old picture and then apply color to make it look natural without losing any historical value. The final picture should be dust and scratch free for the first result and then color should look naturally applied. The steps are listed below.

1. Create a after copy based on the original on separate layers on Adobe Photoshop.

2. Create a heal layer over the after layer to fix mistakes. Use the clone tool to go over the big scratch at the center of the picture without harming the actual picture.

3. Take a snapshot in histories after it is removed and go into dust and scratches. While in dust and scratches set up radius not as low as possible and threshold as high as possible without seeing the dust.

4. Take a snapshot again and call it blur and leave source on this layer.

5. Then go back to the first snapshot and and use history tool to fix dust and scratches on the picture.

6. After that fix the mans eye by using marquee tool over the good eye and jumping it to a new layer and adjusting it over the old eye. Then save and save as a separate document to get ready for the next part.

7. Open the separate document to fix up the colors. Use quick mask to select parts of the picture then save selection and load selection and go to adjustment layers(hue and saturation) to fix colors

8. After the colors are set the project is complete.

The first part was not that difficult and the damage did not seem to difficult to remove. The second part with the colors was difficult because it was hard to tell what part was what at some points.
Thursday, July 29, 2010

Family Picture Repair Project


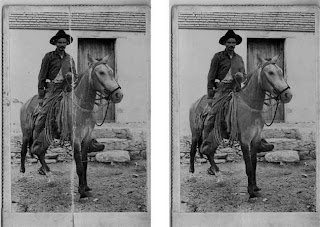
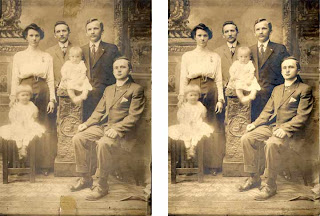
The assignment is entitled Family Picture Repair. The software used was Adobe Photoshop. The objective of this project was to restore and old picture.The tape at the top and bottom had to be removed, the gentleman sitting all the way to the right had to get his nose fixed, and dust had to be removed without lossing any historical value to the picture. The picture to the left is the before picure and the picture on the right is the after picture. Steps are lsited below.

1. Make a copy of the original and call it after.

2. Create a heal layer to use to fix the tape at the top and bottom by using cloning tool. Make sure not to destroy the signature at the bottom or line at the top.

3. Open up histories and take a snapshot.

4. Then go to Dust and Scratches and set the radius low just enough to make all the dust disappear and the Threashold high but not too high so the dust does not reappear.

5. Then take a smapshot of that and call it blur and set sources on this layer.

6. Go back to the first snapshot and use the history brush to remove all the dust.

7. Fix the side of the pages with clone tool.

8. The copy the other mans nose and use command J to jump to new layer and place it over the damage nose and fix it up to look like the damaged nose but without damage. Lower the opacity to make the real nose stand out without the damage. Then the project is complete.

It was a quick assignment but it was difficult to get all the dust. The picture was restored without casing any loss in the history of the picture.

Wednesday, July 28, 2010

Flawless Skin Project


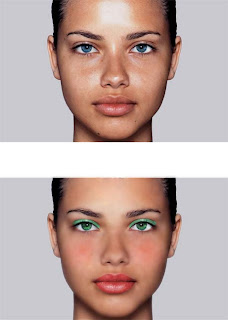
This assignment is called flawless skin. The software used was Adobe Phothoshop. The objective of this assignment is to transform this ordinary girl (top picture) into a flawless person so she could be in Vogue magazine(bottom picture). The tools most important to this assignment were used on this layers, save quick mask, heal tool, clone tool, and adjustment layers. The steps are listed below.

1. First open up Adobe Photoshop and make another copy of the girl to make before and after shots on separate layers. Also use save selection to save the background.

2. Create a heal layer where all the cloning and heal tool can fix all the blemishes from her skin and remove the glare on her face. When satisfied combine the layer heal and after.

3. Make a new layer of the girl from the copying after and call it blur and make it blurry and erase all the detailed parts so they can be noticed. Then place the saved selection background on top to make her sides smooth. Then decide on a perfect opacity.

4. Select her eyes by using quick mask and brush tool and go to adjustment layer and change her eye color to green by hue and saturation.

5. On a new adjustment layer use hue and saturation to turn the screen green then fill up the layer with black so the green cannot be seen. Then use erase to erase over her eyes to see her eyeshadow.

6.Use quick mask again with adjustment layer to create a nice color for her lips and blush.After that the assignment is completed and she is ready for Vogue!

This assignment was interesting and not that difficult and the end result was pretty good.

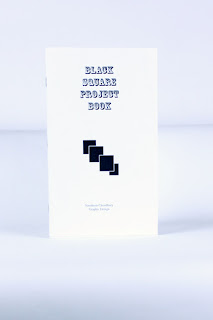
Black Square Project


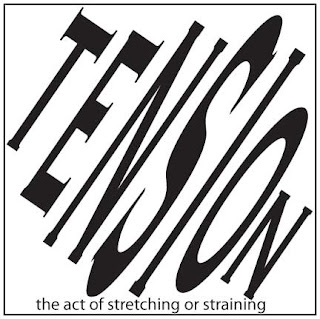
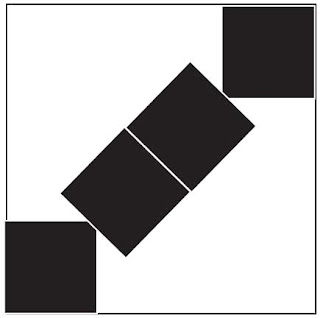
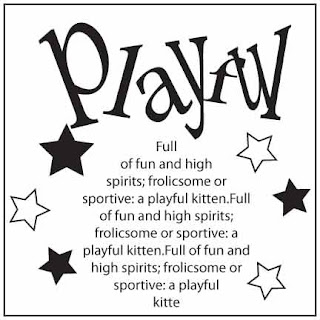
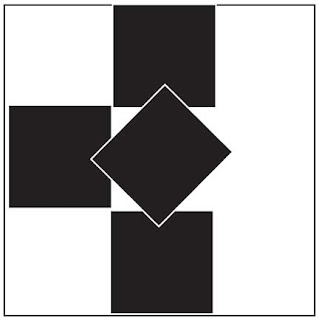
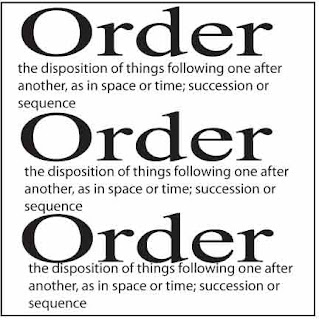
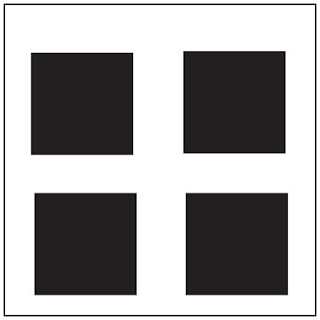
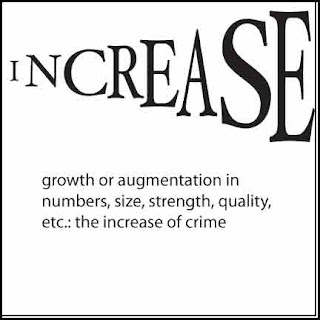
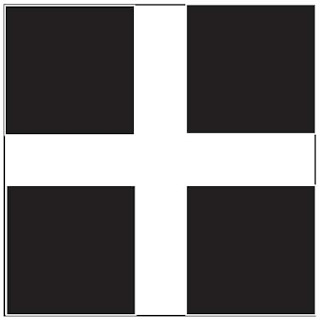
This assignment is called Black Square Project and it was made through Adobe Illustrator and Adobe InDesign. The objective of this assignment is to create a book with 12 boxes 6 definitions and six designs. The designs can only use four black squares of the same sizes to represent a word and the definition boxes should give a clue of what the boxes are supposed to mean. The six words are tension, playful, order, increase, congestion, and bold. The steps are listed below.
1. create 3 thumbnails for each word using four black boxes of the same size
2. Select the best to be placed in the dummy. Find the definition of the six words online that go with the boxes.
3. Create a dummy on where the boxes will be placed with accurate margin es and sizes include the four square box design and definition. This should be the actual size of the book and should look like a rough draft of the book. That means cut it out to the correct size and fold it correctly.
4. Create the black squares boxes with design first on Adobe Illustrator using the shape tool, color tool, and mask them if necessary.
5. Then create definition boxes using type tool and make them look creative and incorporate the definition.
6. Then open Adobe InDesign and set up your pages properly according to measurements on the rough.
7. Then start to export the boxes from Illustrator onto InDesign
8. Before you are done make sure everything is correct and looks as much like your rough as possible (measurements wise) and print.
9. Then cut it out according to the size of your dummy, fold it, and then staple it.
The measurements of my dummy and my actual book were off and the dummy was a huge mess. The boxes on the other hand turned out pretty nicely.

Tuesday, July 27, 2010

Travel Project

The assignment is called Travel. The software used is Adobe Photoshop. The objective is to create a travel ad for your own company with Adobe Photoshop. The Ad must contain three pictures at max, a title, and a subheading. Steps are listed below.

1. First select a background, set resolution and size use crop or canvas if necessary.

2. Bring in one picture to place in the ad and use quick mask along with gradient tool to adjust it to the setting of the background. Make sure to place it in an appropriate area and be sure the resolution is the same.

3. Then select next image and do the same.

4. Then create a title for the company use the type tool options to adjust the title. Then use eyedropper key to select a color for the title from the background.

5. Add subheading and adjust size and location and use the same color as the title.

The project turned out pretty good except for the fact there was a grammatical error and type could have been moved a little over but now the errors are fixed and the assignment is ready to make sales.

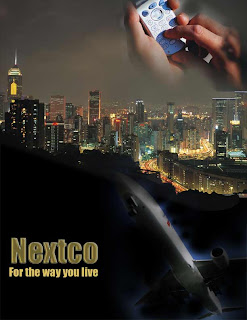
Nextco Project


The assignment is called Nextco. The software used on it was Adobe Photoshop. The purpose of this assignment was to recreate an ad for the Nextco company. The tools that had to be used were quick mask, gradient tool, canvas, and type tool. The steps were listed below.

1. Drag background onto Phothoshop and add a black canvas underneath it and make it blend in with the shadows.

2. On a new layer drag in the airplane and use quick mask and gradient tool to make it blend in more with the surroundings.

3. Bring the cellphone in on a new layer and make it blend in more with quick mask and gradient tool as well.

4. Then add the text using type tool and type characteristics to make the title stand out more.

5. Look over the assignment for errors and make correct then you are done.

The assignment did not come out perfectly the airplane did not completely blend in with the surroundings but the type worked well and it turned out okay.

LA Zoo Post Card


This project is entitled "LA Zoo Post Card". The software used is Adobe Photoshop. The purpose of this assignment is to is to practice photoshop type tool, strokes, cropping pictures, resize pictures, and having the correct resolution. The steps are listed below.

1. The rough draft is already set so it is up to the designer to follow the guidelines to make it.

2. First get all five of the pictures ready from the many choices make one 3.5 inches by 5 inches and 4 choices 1.125 inches by 1.125 inches. Make sure the resolution is 300. Most of the pictures are not the same size as required so they have to be cropped to that size.

3. After the pictures are completed add strokes of 38 pixels.

4. Then open a new Adobe Photoshop and with a height of 5.25 inches and a width of 8.5 inches. Also add a stroke of 75 pixels.

5. Then pick the color for the background from the color pallet.

6. Then pull in the big picture and put it in the upper right hand corner. Also pull in the smaller pictures and align them at the bottom.

7. Add the text using type tool. Select proper location, size, two fun fonts, and color.

8. After that check to make sure everything is done correctly and then you're done!

The assignment did have one error which was that it did not have contrasting fonts they were very similar. Other then that it turned a pretty well.